
Welcome back! In this combined session for Day 2 and Day 3 of our Microsoft Dynamics 365 CRM Fundamentals series, we’ll cover two essential parts of your CRM journey:
- Setting up and navigating your free CRM trial
- Understanding how Leads, Accounts, and Contacts work together
By the end of this post, you’ll have your Sales Hub up and running and a clear picture of how businesses track and convert customer data inside Dynamics 365.
🔧 Step 1: Set Up Your Free Dynamics 365 CRM Trial
If you haven’t done this yet, follow these steps:
- Go to https://trials.dynamics.com
- Select the Sales app
- Sign up using a work or personal email
- Finish setting up your environment
You’ll receive an email from Microsoft with your login link. Once inside, go to the Sales Hub app.
🚀 Step 2: Explore the Sales Hub Interface
The Sales Hub is the heart of CRM for tracking your sales process. Let’s explore the layout:
- Left Panel (Navigation): Modules like Leads, Opportunities, Accounts, Contacts
- Top Ribbon (Command Bar): Actions like New, Save, Delete, Assign
- Center Panel: Where your records and dashboards are displayed
Click on Leads in the left menu, open any sample record, and note the sections: Summary, Timeline, Details.
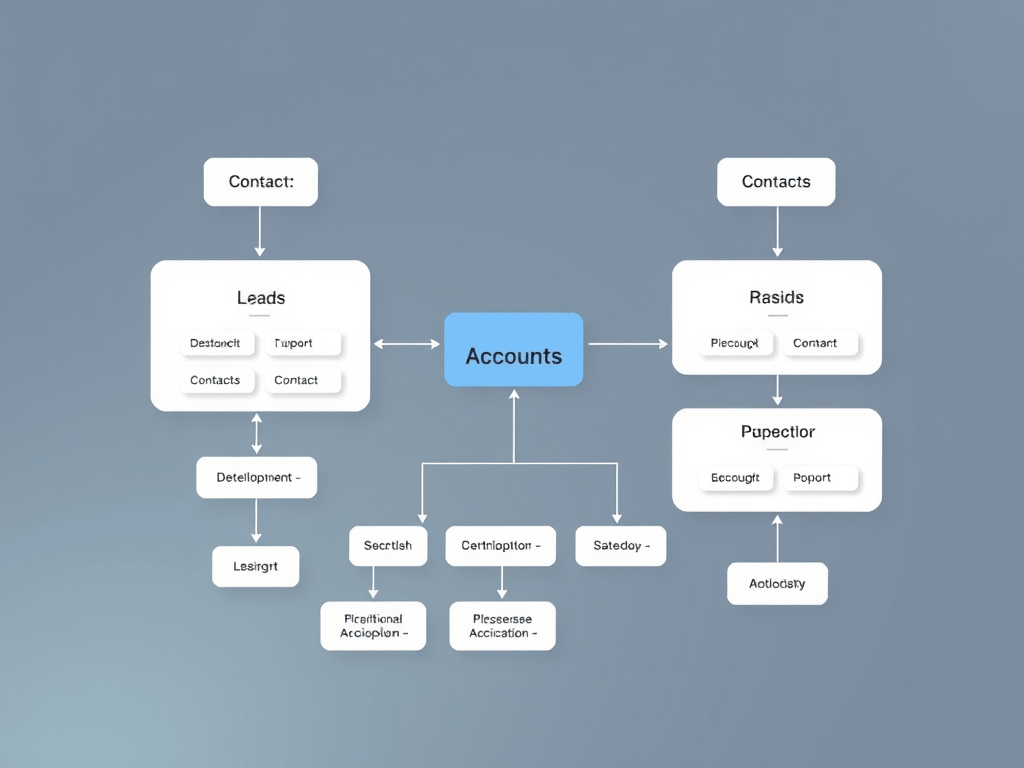
📊 Step 3: Understand Leads, Accounts, and Contacts
These three core tables (called entities in classic CRM terms) are the building blocks of the sales process in Dynamics 365.
| Entity | Description |
|---|---|
| Lead | A potential customer — not yet qualified. Could be someone who filled out a contact form, attended an event, or responded to an ad. |
| Account | A company or organization you do business with. In B2B sales, deals are typically tied to Accounts. |
| Contact | An individual person — can be linked to a Lead or an Account. In B2C sales, you may only use Contacts. |
🔄 Step 4: The Lead to Opportunity Process
Here’s how the data typically flows in the CRM sales pipeline:
- You receive a new Lead
- The salesperson evaluates the lead (phone/email follow-up)
- If it looks promising, they Qualify the Lead
- This automatically creates:
- An Account (if it’s B2B)
- A Contact
- An Opportunity (a potential sale)
Demo Tip: Go to the Sales Hub → Leads → Open a Lead → Click “Qualify”. You’ll see CRM generate a new opportunity and link it to the related account/contact.
🧪 Try It Yourself!
Inside the Sales Hub:
- Click Leads → + New
- Fill out the form (e.g., Name: Test Lead, Company: Test Corp)
- Click Save and then Qualify
- Go to Opportunities and see your new record
Try doing the same for a few different test leads to get familiar with the flow.
🧠 Pro Tips for Beginners
- You can create Contacts and Accounts directly without starting from a Lead
- In some industries, Leads are skipped, and the process begins at Contact/Account
- You can customize this flow using business rules and automation (we’ll cover this soon)
📘 What’s Coming Next?
In the next post, we’ll cover:
- Day 4: Exploring Opportunities – How Deals Are Managed
- Track revenue, close dates, probability, and deal stages
- Learn how to move an opportunity through a business process flow
💬 Let’s Discuss!
Have questions about Leads vs Contacts? Confused by the navigation? Leave a comment below and I’ll respond personally.
👉 Continue your journey tomorrow – we’re building towards real CRM mastery!

Leave a comment